Local Storage seems to be disabled in your browser.
For the best experience on our site, be sure to turn on Local Storage in your browser.


 Free Standard Delivery
 28,000+ Products
 Trusted Quality
 Creative Corner

Help your pupils to share their learning with their own personalised journal. Each journal will be unique to the pupil and can be decorated to reflect the current topics.

-
-

-

-
-
-
-
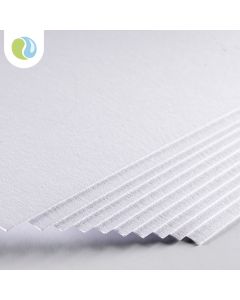
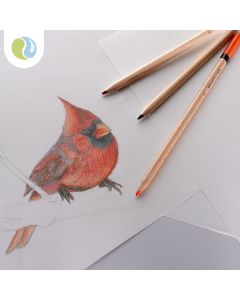 Specialist Crafts Drawing Cartridge Paper - 100gsmAs low as €2.69 €2.19


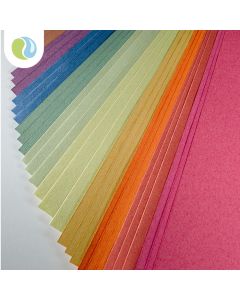
To make sturdy front and back covers you will need two pieces each of white card, brightly coloured sugar paper and coloured board. Cut a piece of sugar paper 2cm bigger than a piece of A4 white card. Place the white card into the centre of the sugar paper. Next, fold the excess sugar paper around the card and using the masking tape stick it in place so that it is secured to the card.

To neaten the covers, use a sheet of A4 coloured board and dab some PVA glue along each edge and on the corners. Line up carefully and place this sheet on top of the masking-taped card so you can no longer see where you have folded the sugar paper around. Press firmly and allow to dry.

To make the holes to bind the journal, measure the card's length (it should be about 30cm.) Mark a dot or small cross at 15cm on both pieces of the covered card and the top page of 25 sheets of plain white paper. This will help to keep all the holes in line when it comes to threading each piece together. Position the dot in the centre of the hole punch and press down. Do this for both covers.

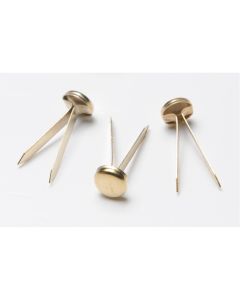
There are two ways to assemble the journal: using split pins or decorative string.
To use split pins, simply push the pin through the hole in the front cover, then the 25 sheets of paper and finally through the back cover hole. Separate the two pins so they are flat to the card. Repeat on the other hole.
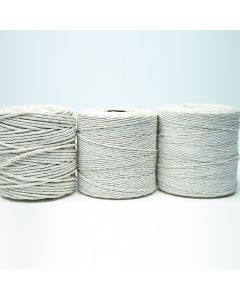
If you don’t want to use split pins, then use plain or decorative string. Just thread the string through the holes in the same order as above and tie securely in a bow. Repeat for the other hole. Alternatively, thread the string through from top to bottom as above, and then back to the top using the other set of holes. Tie to fasten it on the top cover sheet.

Now you have the basic structure for the learning journal your class can decorate the covers however they like!
If they do want to include objects or pictures in their journal then it is a good idea to use the string method in Step 4 as the string can be loosened slightly as the journal becomes thicker.
Tip!
Go Wild! Use pieces of wool, ribbon or coloured paper for spooky tendrils of horrific hair.
