Local Storage seems to be disabled in your browser.
For the best experience on our site, be sure to turn on Local Storage in your browser.


Not just for Christmas, these hanging decorations are so easy to make!


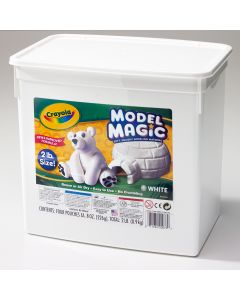
Using air drying clay or Model Magic, roll out a slab of clay to about 1cm thick or the depth you need for your decorations. Make sure there are no cracks and that the surface is as smooth as possible.


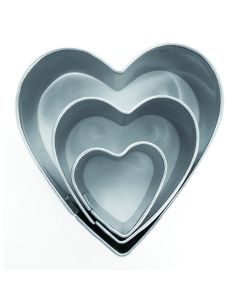
Choose a cookie cutter to neatly cut the decoration shapes from your slab of clay. If you don’t have cookie cutters you can mould your own shapes, such as holly leaves or Christmas trees. You could also try adding text using our Wooden Alphabet Stamps.


Using the handle end of a paintbrush, or a pen nib, make a hole through the top centre of the shape big enough for you to be able to thread elastic, cord or ribbon. Leave the clay shapes to air dry until completely hard.


Once hard the shapes are ready for decorating with readymixed or acrylic paint or even felt pens to add some Christmas colour. Make them as bright as you like. If you’ve used coloured Model Magic you don’t even need to paint them!


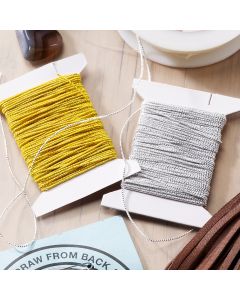
Once your paint has dried, you can add the finishing touches! Add glitz by gluing on sequins, or dip the whole shape in glue and dunk in a bath of glitter. Finally, thread some ribbon through the holes you’ve made and knot it at the top to secure.
Tip!
The decorations are great for fundraising at Christmas fairs and wrapped in colourful tissue make ideal presents.


 Free Standard Delivery
 28,000+ Products
 Trusted Quality
 Creative Corner


