Local Storage seems to be disabled in your browser.
For the best experience on our site, be sure to turn on Local Storage in your browser.


Create your very own personalised fossils using casting plaster!


To create your mould, first cut some sections from plastic drinks bottles. Using different shaped bottles will give interestingly shaped edges to your decorations. Rinse and dry thoroughly.


Roll a ball of Spectrum Plasticine and flatten. Make sure your piece of plasticine is wider than the piece of drinks bottle you cut in step 1. Take a shell, or another interesting item, and press it firmly into the middle of the plasticine, then carefully pull it back out to leave an impression of the shape.


Press the section of plastic bottle firmly into the plasticine, ensuring that the impression from step 2 is inside the boundaries of the drinks bottle.


Roll a tight tube of paper and stick with adhesive tape. Press the tube firmly into the plasticine making sure that your impression is not damaged or distorted. This tube will create a threading hole.


Mix some Casting Plaster to the consistency of double cream and pour into the section of drinks bottle to a thickness of 1 - 1.5cm. Gently tap the plasticine and the bottle with a finger to dislodge any air bubbles. Allow the plaster to dry completely. Overnight is ideal.


Lift the bottle away from the plasticine, it should lift the plaster away with it. Use scissors to snip the top of the plastic and peel the bottle away from the plaster shape. Pull the paper tube out of the plaster to leave a threading hole.


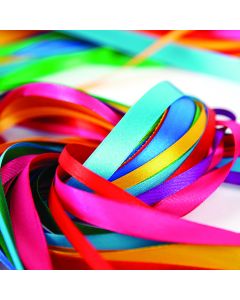
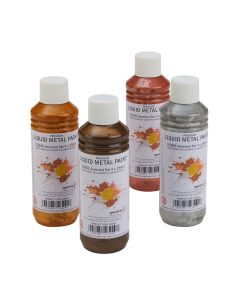
Paint your plaster fossil in Liquid Metal Paints and, when dry, thread satin ribbon through the threading hole to create beautiful hanging decorations.
Tip!
If you don't intend to paint your decorations, use white plasticine to create your fossil mould.


