Local Storage seems to be disabled in your browser.
For the best experience on our site, be sure to turn on Local Storage in your browser.


 Free Standard Delivery
 28,000+ Products
 Trusted Quality
 Creative Corner

Learn how to make your own Christmas tree decorations using air-drying clay, earthenware glazes and more! Don't let your tree go unnoticed this holiday season!

-
-

-
-
-
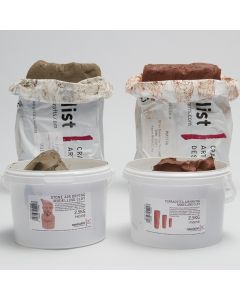
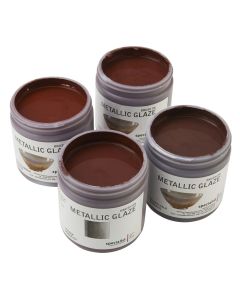 Specialist Crafts Metallic Earthenware GlazesAs low as €45.99 €37.39
 -


Prepare your workspace, we recommend working on a modelling board or a clean smooth surface.

Using the rolling guides, start by rolling out a piece of clay with a rolling pin. The rolling guides will ensure you have an even thickness. Aim for the clay to be around half a centimetre thick.

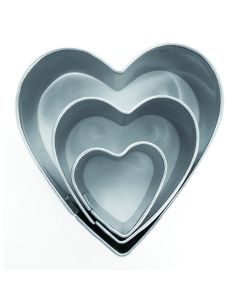
Next, you’re ready to cut out your shapes. Use a range of shaped cutters to
carefully cut through the clay.

If you don’t have cutters, you can make your own stencils by drawing out your shape using stencil card. Carefully cut around your shape in the clay using a carving tool.

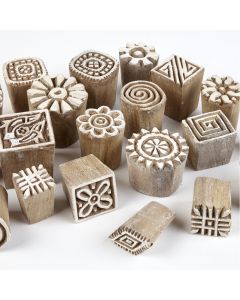
The clay can be imprinted by using stamp tools and lace fabric. This can create interesting textures once the air-drying clay has dried.

Once happy with your shapes and imprints, carefully make a small hole into the top of each decoration. This is where you will insert the ribbon once finished. Leave your clay to dry for a day or two by placing it on a dry surface.

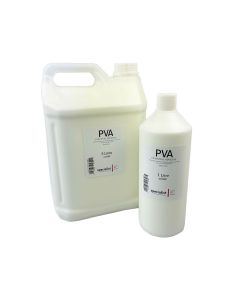
Once your clay is dry and no longer feels cold, brush over a layer of PVA glue to form a barrier before applying acrylic paints.

SECONDARY LEVEL:
For kiln firing, follow steps up until step 6. Once your clay is dry and no longer feels cold, brush over 2-3 coats of the metallic glaze. Leave to dry, then kiln fire up to 1040°C to reveal a gloss finish.

SECONDARY LEVEL:
When your clays have finished firing, add some ribbon and they are now ready for your tree!

For airdrying, once your PVA base layer has dried, paint your decorations with X4 Artist Acrylic paints. You may need to add more than one coat for a vibrant finish. We recommend using metallic shades for a high-shine decoration.

Once your paint has dried, add ribbon through the hole made at the top, and they are now ready to hang on your tree.
