Local Storage seems to be disabled in your browser.
For the best experience on our site, be sure to turn on Local Storage in your browser.


Create your underwater kingdom! We've gone for a variety of sea creatures on a small window but you could make yours as big or as small as you like and get the whole class involved!


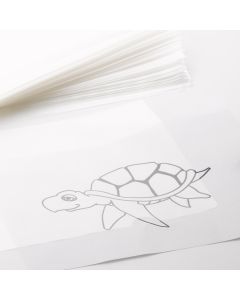
Choose a simple design with bold shapes. Draw your design on a sheet of A4 paper and trace the outline in black felt pen so that it is easier to see.


Slip your design into a Design Wallet, lining your paper up carefully in the corner to prevent your design from moving around.


Use black Window Color to trace over your design, following the outline. Work from top to bottom to prevent smudging your lines as you work. The paint will change colour as it dries. Allow your outline to dry completely. This may take a few hours.


Fill in the rest of your design in coloured Window Color, working from top to bottom. Pop any small air bubbles which form with the nozzle as you work. Make sure you fill right up to the edges of your outline and allow to dry thoroughly. We recommend you leave it overnight.


Once dry, lift one edge of the design up away from the Design Wallet and carefully peel the shape free. If you discover any holes in your design, lay it back down and fill them in with more Window Color, allowing it to dry before removing it from the Design Wallet.
Tip!
You could also try Celtic Knot stained glass windows or let your imagination run free!


 Free Standard Delivery
 28,000+ Products
 Trusted Quality
 Creative Corner


